Make your own bean bag toss game

To make your own beag bag toss game: 

You will need a thick piece of poster board, exacto blade, colors, cardboard, tape, and bean bags.

DSC_0005

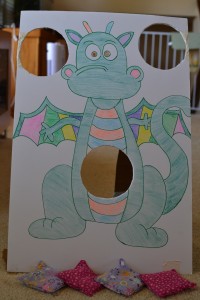
First you will need to draw your chosen design and color it. Next choose three or four places to draw circles. Be careful not to get your circles too close to the edges like I did. Use the exacto blade to cut out the circles.  My sweet husband used some scrap cardboard to make the board stand up. I can’t really explain what he did, so here are a few pictures!

DSC_0003 DSC_0002

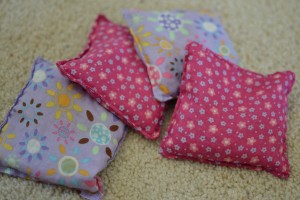
And have your best friend make you some cute bean bags to match your party theme! Check out Lisa’s blog…she made our bean bags!
DSC_0004


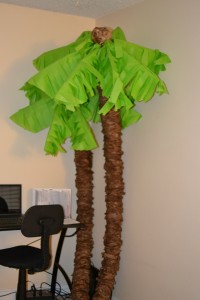
Make your own palm trees with pool noodles

One of the things I miss most about teaching….decorating my classroom! I was so excited to visit my mom’s classroom last week and see all her cute monkey decorations. I had so much fun playing on her Smartboard and showing her a few tricks too! My oldest daughter starts Kindergarten this year, and I plan to help her teacher as much as possible. Her teacher has chosen a Chicka-Chicka Boom Boom theme this year. SO what goes better than a few palm trees???  Her sweet teacher sent me a link to a palm tree made out of a pool noodle, and I got started making a couple palm trees for her classroom!  Really an easy project that was super fun! Here’s how to create your own palm trees…..

DSC_0018

You will need:

  • pool noodles
  • brown paper lunch sacks (about 100)
  • brown spray paint
  • green tissue paper
  • 16 gauge floral wire (I bought a package of long wires that had already been cut.)
  • hot glue
  • duct tape

Directions:

  • First I cut a pool noodle in half with scissors. I used duct tape to tape half of the noodle to another whole noodle.
  • Cut the bottoms off of the paper bags.
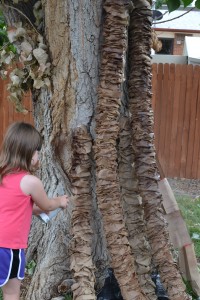
  • Slide the paper bags onto the pool noodle and scrunch together. Use tape to secure the bag on the bottom and top.
  • Spray paint the palm trunks brown.

DSC_0004

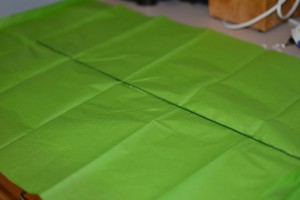
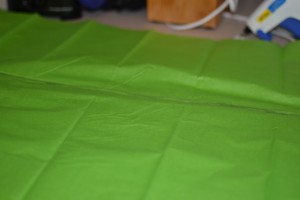
  • To make the palm fronds, take one piece of tissue paper and lay it flat. Run a line of glue down the center of the paper. Place the piece of floral wire onto the glue line.

DSC_0008

  • Now run another line of glue on top of the wire and place another sheet of tissue paper on top.

DSC_0011

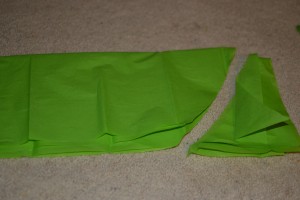
  • Now fold the tissue paper in half lengthwise. Cut the edge in a circle shape as shown below.

DSC_0012

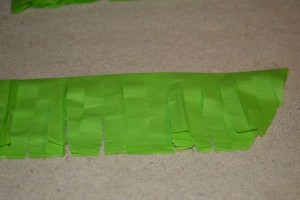
  • Cut about one inch strips almost to the center wire.

DSC_0013

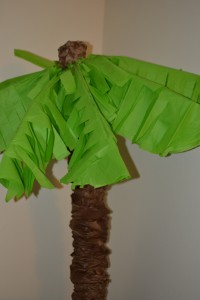
  • To put the palm fronds onto the trunk, you just poke the wire into the pool noodle.

DSC_0017

And now you have a cute palm tree decoration. The palm will not stand on its own, so you will probably have to hang it from the ceiling with fishing line!

*Click here for the original source for this idea!


Chocolate Chip Pudding Cookies

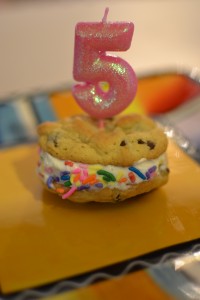
My daughter requested chocolate chip cookie ice cream sandwiches for her birthday today! Thought I would share one of my favorite chocolate chip cookie recipes with you!

DSC_0025

Ingredients:

2 sticks of salted butter (1 cup)

3/4 cup brown sugar (packed)

1/4 cup white granulated sugar

1 small box of instant vanilla pudding

2 eggs

1 teaspoon vanilla extract

2 and 1/4 cup all purpose flour

1 teaspoon of baking soda

1/8 teaspoon of salt

1 package of milk chocolate chips (12 oz)

Directions:

1.  Cream butter, sugars, pudding mix, eggs, and vanilla.

2.  Slowly mix in flour, baking soda, and salt.

3. Fold in chocolate chips.

4. Preheat oven to 375.

5. Drop rounded spoonfuls of cookie dough onto parchment paper.

6. Bake for 8 to 9 minutes.

7. Cool on wire wrack!

DSC_0025

Recipe adapted from here!

Pull String Pinata

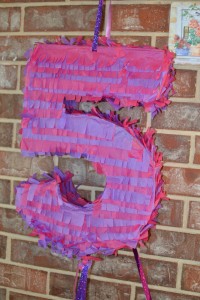
DSC_0010

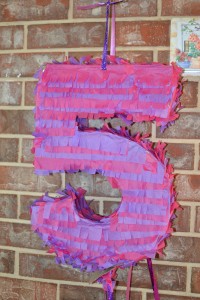
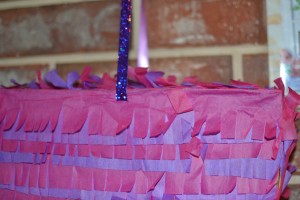
For our daughter’s fifth party,  we made a number 5 piñata. I have made a few piñatas and depending on the tape you use they can be pretty hard to break open. So I did some research on how to make a pull string piñata instead of making one you have to break open with a bat/stick.  Here’s what I did:

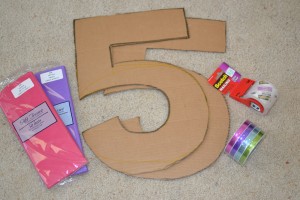
DSC_0014

You will need a cardboard box, a cereal box (not pictured here), tape, tissue paper, ribbon, and a glue stick (not shown either).

DSC_0004 DSC_0003

Make two identical shapes using the cardboard box. In this case, I made a number 5.  Cut the cereal box into strips measuring the same width.  I made two inch strips. Tape the strips between the two number fives to form an enclosed “box”.

DSC_0001

Cut the tissue paper into two inch strips and make slits in the paper almost to the top. Use the glue stick to lay the strips on the piñata. Repeat until the entire piñata is covered.  With the number 5 shape this took quite a while. I did the outside edges and then did the front and back.

DSC_0007

To hang the piñata, I used a piece of ribbon. I cut a slit in the front and back and slid the ribbon thru.

DSC_0006

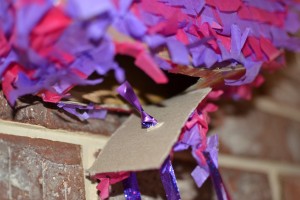
To make the trap door, I used an exacto blade to cut a small square with one side still attached. Cut a slit in the middle of the door, and thread a piece a string through.  Tie a knot so the string will hold and pull the door open when pulled by a kid.  Place other ribbons around the bottom on piñata in places that would not make the door pull open.

Hope you enjoy making a piñata!

*If you want more detailed instructions on making the piñata, check out this previous post on my site!