I wanted to try making a frozen buttercream transfer so my daughter’s birthday was the perfect opportunity to try it out. I watched this video to learn how. Here are a few pics and things I learned along the way!
- First you will need an image you want to use. I printed a coloring page of a puppy.
- Turn the coloring page over and use a black marker to trace a reverse image of the design. I just drew it right on the back!
- Grab a sheet of parchment paper and tape it to your design image. You will need to put the image onto something moveable that will fit in your freezer….like a cookie sheet. I don’t have a cookie sheet that will fit so I used a thick piece of cardboard….a cake board to be exact!
- You need a dark buttercream to create the outline (draw on the reverse side). I used black buttercream. Use a small piping tip and outline the complete image.
- Next fill in the spaces with your colored buttercream using a small tip like a wilton #5. I used a dark gray and pink butterce. You will want the consistency of your buttercream to be pretty soft so you get a nice smooth transfer. Mine was a little too thick and wasn’t as smooth as I thought it would be. Lesson learned;)
- Next outline the entire image in the color of your cake icing…mine was white so I outlined in white. Cover the entire back of the image in white buttercream.
- Place in the freezer for at least 90 minutes or overnight.
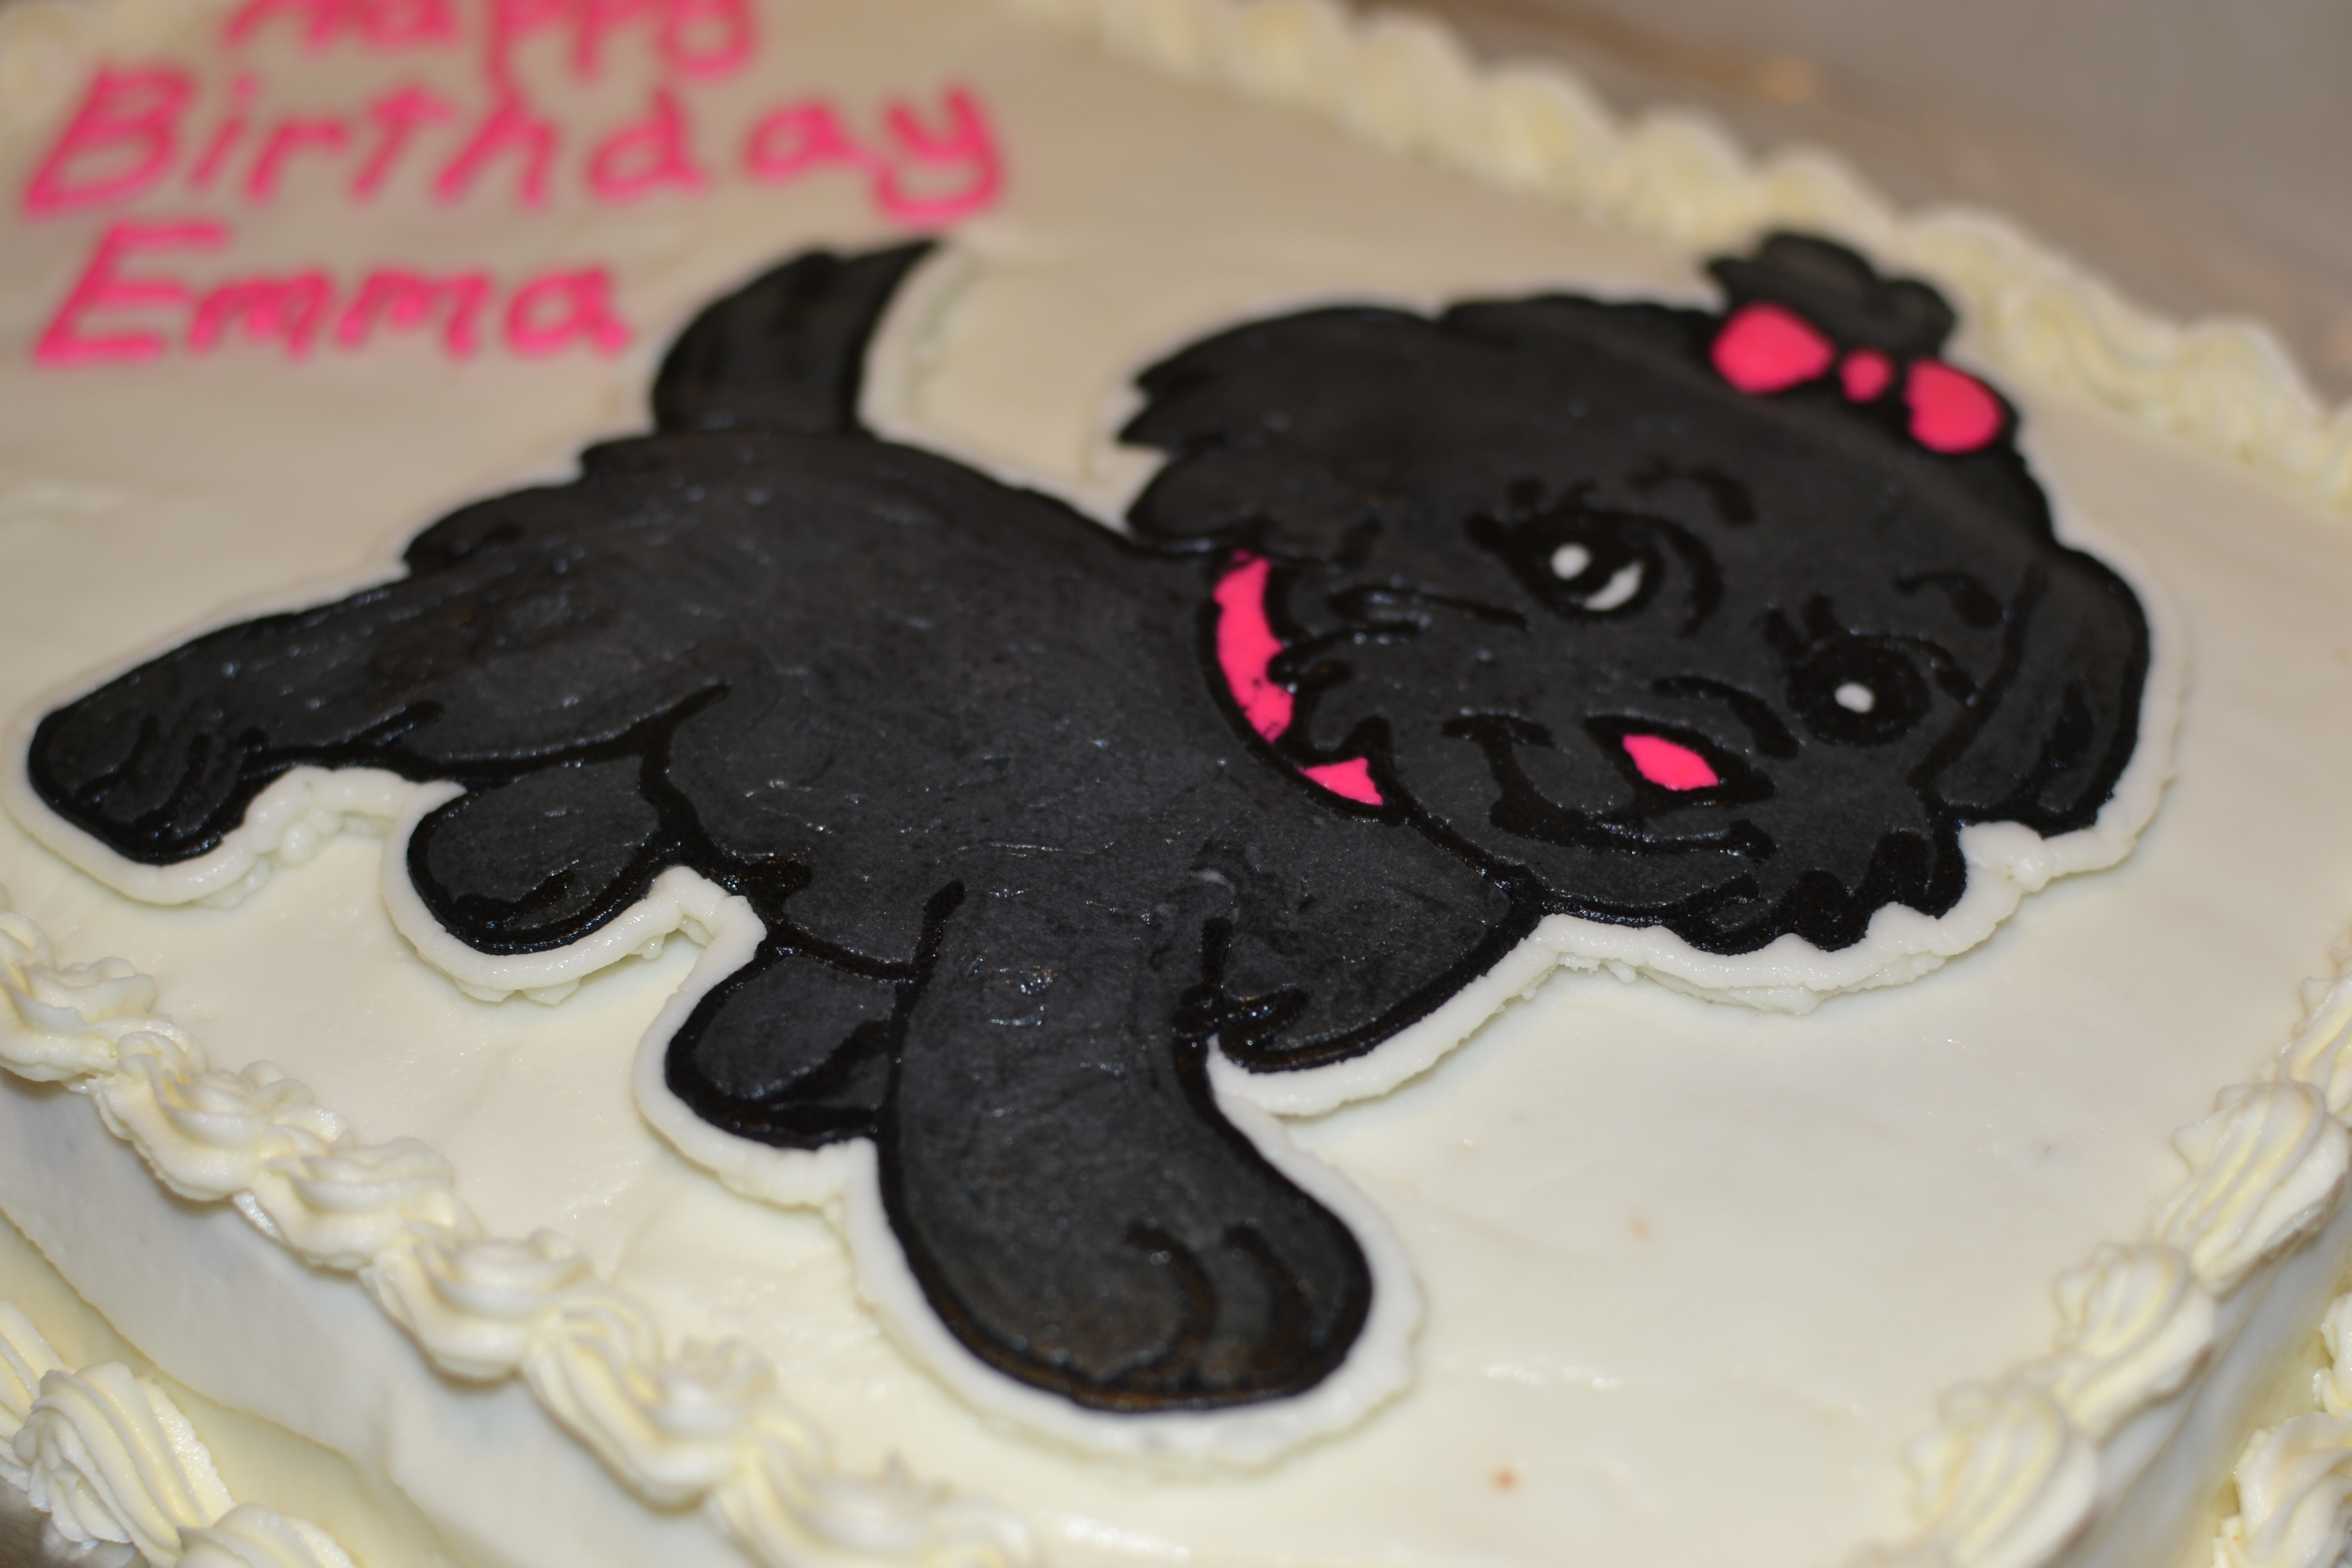
- When you are ready, take the transfer out of the freezer and carefully flip it over. It will slide right off the parchment paper and you can place it on your cake!
*This is a fun way to make your cake look fancy and it’s super easy. Try it and be sure to let me know how it goes! ![IMG_1837[1]](https://shebakesandcreates.com/blog/wp-content/uploads/2014/05/IMG_18371-e1401369512271.jpg)
This is the reverse image completely decorated and outlined in white.
![IMG_1838[1]](https://shebakesandcreates.com/blog/wp-content/uploads/2014/05/IMG_18381-e1401369535976.jpg)
Here is the transfer covered in the white buttercream and ready to be frozen.
![IMG_1839[1]](https://shebakesandcreates.com/blog/wp-content/uploads/2014/05/IMG_18391-e1401369592560.jpg)
This image is just to show how thick the transfer is!
See the reverse image on left and the real deal on the right? Just thought it was fun to see it side by side!

That’s super fun and cute!! Just to clarify, the icing that is touching your parchment paper is what actually ends up being the seen side? Great work!
Yes, you are right Val! Try it soon…what does J want on his cake?