Had a few people ask how I made my daughter’s smash cake (aka Rose Cake) for her first birthday. So here’s a quick how to! This cake literally comes together in minutes! The fastest cake I make!
Smash cake is on the left and a two layer cake is on the right!
Directions:
1. Start with coating your cake in a layer of icing and smooth it out…known as the “crumb coat”.
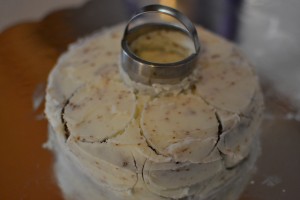
2. Using a small biscuit cutter (or similar round object), mark small circles onto your cake. This will help keep your roses similar in size, but is completely an optional step. See photos below. My apologies for my poor photography skills….I need some lessons;)
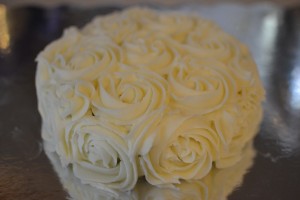
3. Using a large decorating tip (I use a Wilton 1M), start with the side roses. Start in the center of the circle and slowly pipe around to make the rose. Repeat until the entire side is covered with roses.
4. Repeat process on the top of cake. If your have gaps between any of the roses, go back with your icing tip and lightly pipe a little icing into the gap. It will hardly be noticed:)
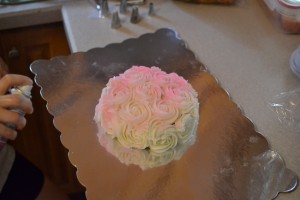
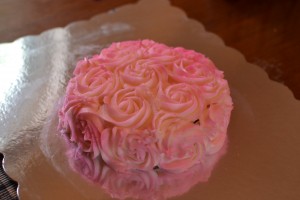
5. I like to add a little color to my rose cakes by using a Wilton Color Mist Food Spray. Just give it a light coating of spray! Using two colors like pink and yellow can be fun too. So many options!
6. All done!
*I first starting making rose cakes last October after seeing it on Pinterest. I found this tutorial online from “I Am Baker” and highly recommend you checking it out if you want a more detailed explanation of how to make this cake. I think the blog even contains a video! Now go make a cake!


You make this look so easy!
Thanks Lisa! It is pretty easy:)