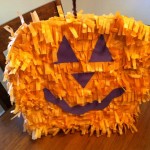
Last fall I tried my hand at making a pumpkin pinata. Here’s how it turned out…not too bad!
Since my baby is turning one very soon, I am making a number 1 pinata. I thought I would share this “how to” in case any of you would like to make one too. It’s super cheap and fairly easy….does require a bit of time to complete:)
What you will need:
cardboard box ( I use a diaper box)
cereal box or two
tissue paper
glue stick
masking tape
lollipop sticks (optional)
hot glue gun (optional)
1. First draw your shape onto a large piece of cardboard.
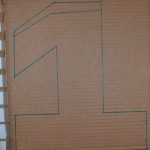
2. Cut it out and trace onto another piece of cardboard. Now you have two matching shapes.
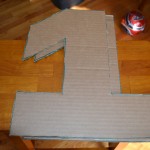
3. Here’s an optional step. With my pumpkin pinata, I didn’t feel like it needed this step. But I wanted the number 1 to be “boxy” (if that’s a word)! I used lollipop sticks that were originally 4 inches but cut down to 3 inches. I hot glued them to one of the pieces of cardboard basically at each corner. See pictures below:


4. Now glue the other number one to each of the sticks. You have this nice frame so to speak.
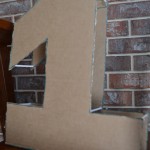
5. Lay your cereal box out flat and measure strips of cardboard. Since the width of my pinata was three inches, I measured three inch strips.
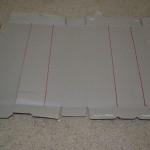
6. Starting at the top, attach the cereal box strips to the pinata frame with masking tape. WARNING: I used duct tape on the pumpkin and we barely got it to come apart when the kids were trying to destroy it….no joke it took an adult to get it to break:)
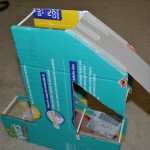
7. Continue covering with cereal box strips until you get back to your starting point. You will want to leave a hole at the top to be able to put goodies in the pinata later.


8. This step is optional too. I painted my pinata pink for a few reasons. First if you have words on the outside of your box, they will probably show through the tissue paper. Some spots of the number one are hard to cover, so I didn’t want the box to show. To each his own here;)
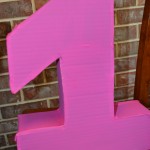
9. Now to cut tissue paper strips. See below:


10. Here is the time consuming part. Use your glue stick to cover the entire pinata with tissue paper strips. Start at the bottom and work your way up!
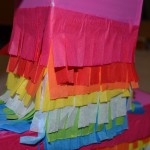
11. Here’s the finished pinata. Pretty cool for under five bucks! Plus I can say I made it myself;)
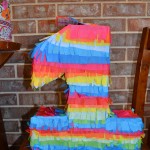
*Once I fill it with goodies, I will add a hanger by punching two holes in the top piece and using a pipe cleaner. I will also glue top flap closed before hanging up for the kiddos!
*Feel free to ask questions if I left something out. I hope you enjoy making many pinatas for those special kids in your life!


